بسم الله
In this article, we are going to solve the first challenge of Flare-On (2015). As usual, we will rely on the Learning-by-Doing methodology and the Just-in-Time Learning approach.
1. Downloading and Running the Challenge
First, we download the challenge from the official website: flare-on.com
Archive password: flare.
Let’s start by running the file we have in front of us:
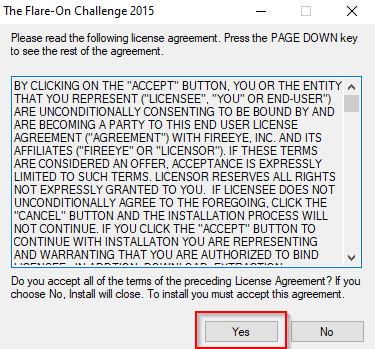 Figure (1): Running the file for the first time
We copy the specified path where we will place the challenge file:
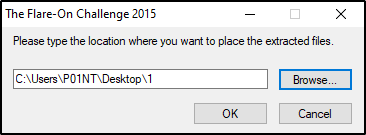 Figure (2): Copying the challenge file path
The challenge file appears with the name: i_am_happy_you_are_to_playing_the_flareon_challenge.
We inspect the file with Detect It Easy (DIE):
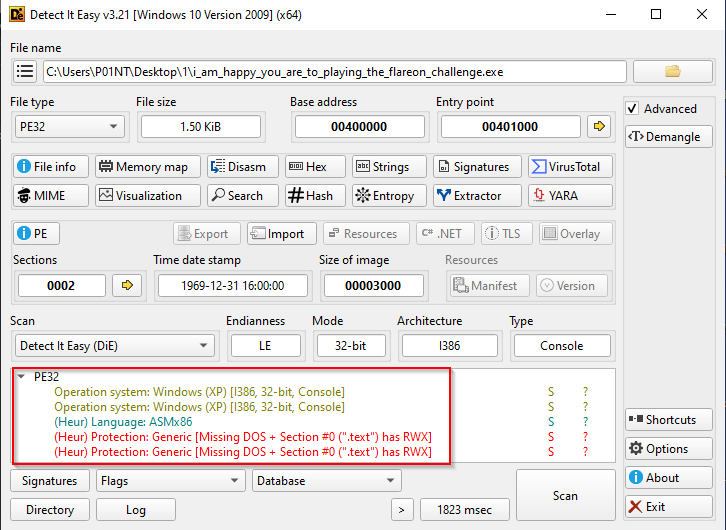 Figure (3): File information as shown by DIE
As shown in the image, the file is a PE32 executable written in x86 Assembly.
2. First Run and Behavior
Nice, let’s run the program:
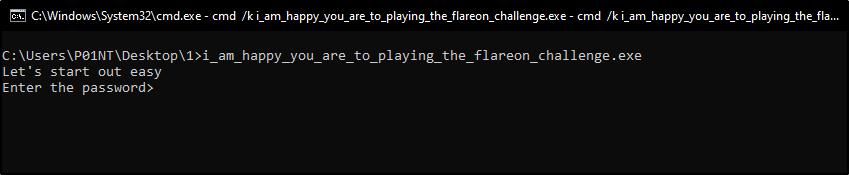 Figure (4): Running the program
Okay, it is a console (DOS) program, not a GUI. Let’s try typing something:
When we type anything, the CMD window closes immediately. The reason: the program executes very quickly and closes in the same instant.
So we open CMD ourselves, navigate to the program’s directory, and run it just by typing its name, then we try typing something again:
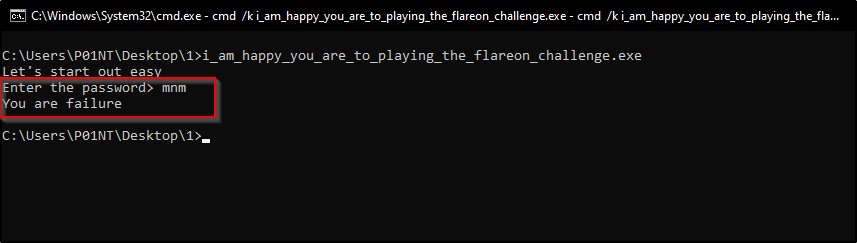 Figure (5): Running the program from a CMD window
An error message appears: you are failure.
3. Reviewing the Strings
Great, this means the program currently contains two strings:
Enter the passwordyou are failure
And surely there is a third string indicating that the password we entered is correct.
Let’s open the file in IDA Pro and perform a static analysis:
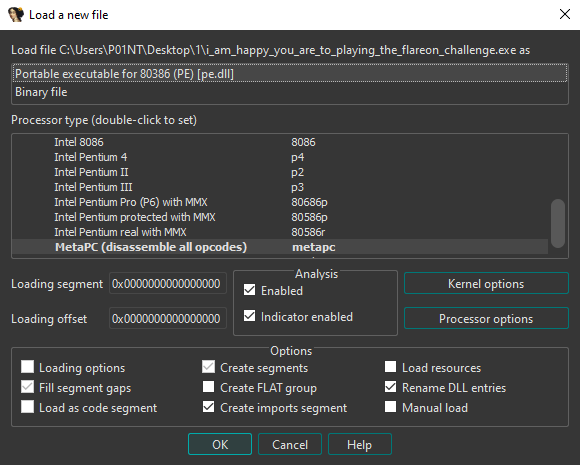 Figure (6): Opening the file inside IDA Pro
We open the Strings window by pressing SHIFT + F12:
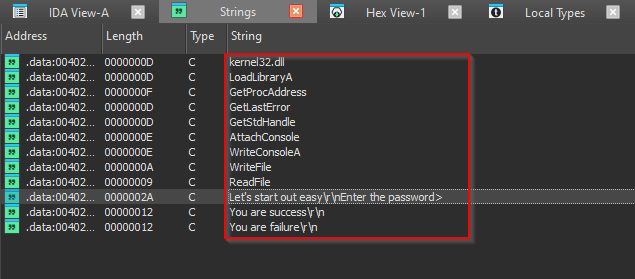 Figure (7): The Strings Window
All the strings contained in the program appear here. Let’s look closely at the one indicating a correct password: you are success.
4. Following the Cross-References (Xrefs)
We double-click the Enter the password string, and IDA takes us to the following view:
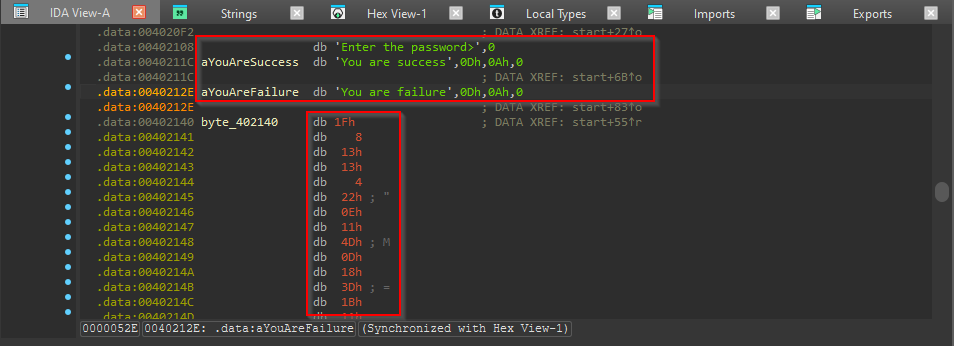 Figure (8): Location of the Enter the password string in the disassembly
As we can see, both the success and failure strings are present, and there appears to be an array which, as expected, is the password. However, we notice that IDA does not recognize all the characters — so there is most likely a simple encryption applied.
Now, we click on the aYouAreSuccess label:
 Figure (9): The aYouAreSuccess label
Then we press X to open the cross-references window:
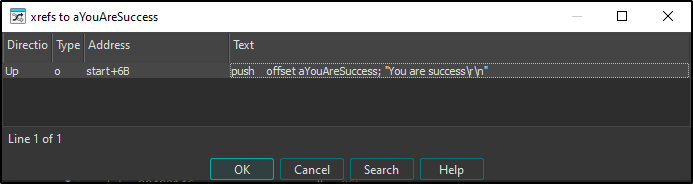 Figure (10): The Xrefs window
We press OK, and IDA sends us to the function: loc_40104D:
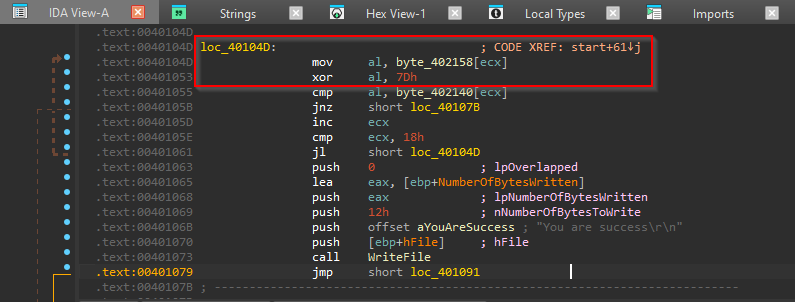 Figure (11): The verification function loc_40104D
5. Analyzing the Algorithm
As is clear, the array entered by the user — byte_402158 — is moved into the al register, then a simple XOR encryption is applied to it with the value 0x7D, and the result is compared against the array we saw earlier: byte_402140.
We double-click the byte_402140 array:
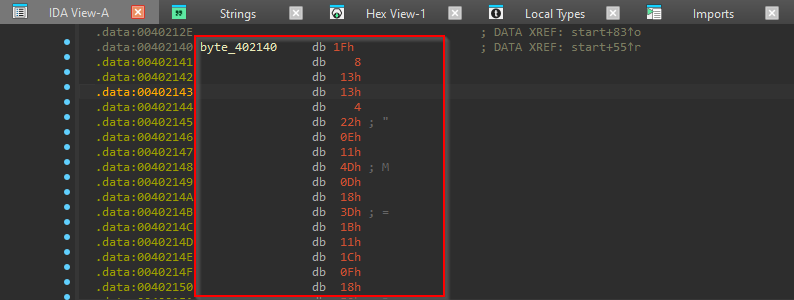 Figure (12): The data of the byte_402140 array
We copy the array data completely, and use any AI model to perform an XOR with 0x7D against the array data, and a clear text appears:
bunny_sl0pe@flare-on.com
Let’s try it:
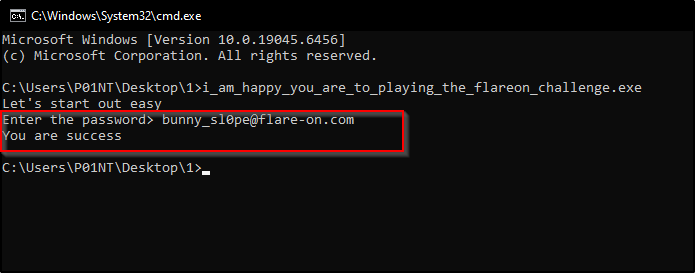 Figure (13): Verifying the correct password
And with this, we have successfully solved the challenge. To be continued, God willing.